SAILMAKING EXPERTISE
Kemp Sails was formed way back in 1985 when the use of CAD and CAM was in its infancy so our design and construction methods where fairly old school. Not hand sewn but still a very hands on experience. In many ways this helps with the modern construction methods of design and manufacturing we are able to visualise what a sail will look like whilst it’s still in exploded parts. This is a skill that’s virtually impossible to teach, and one of the main reasons our sailmaking team are sailors first and foremost.
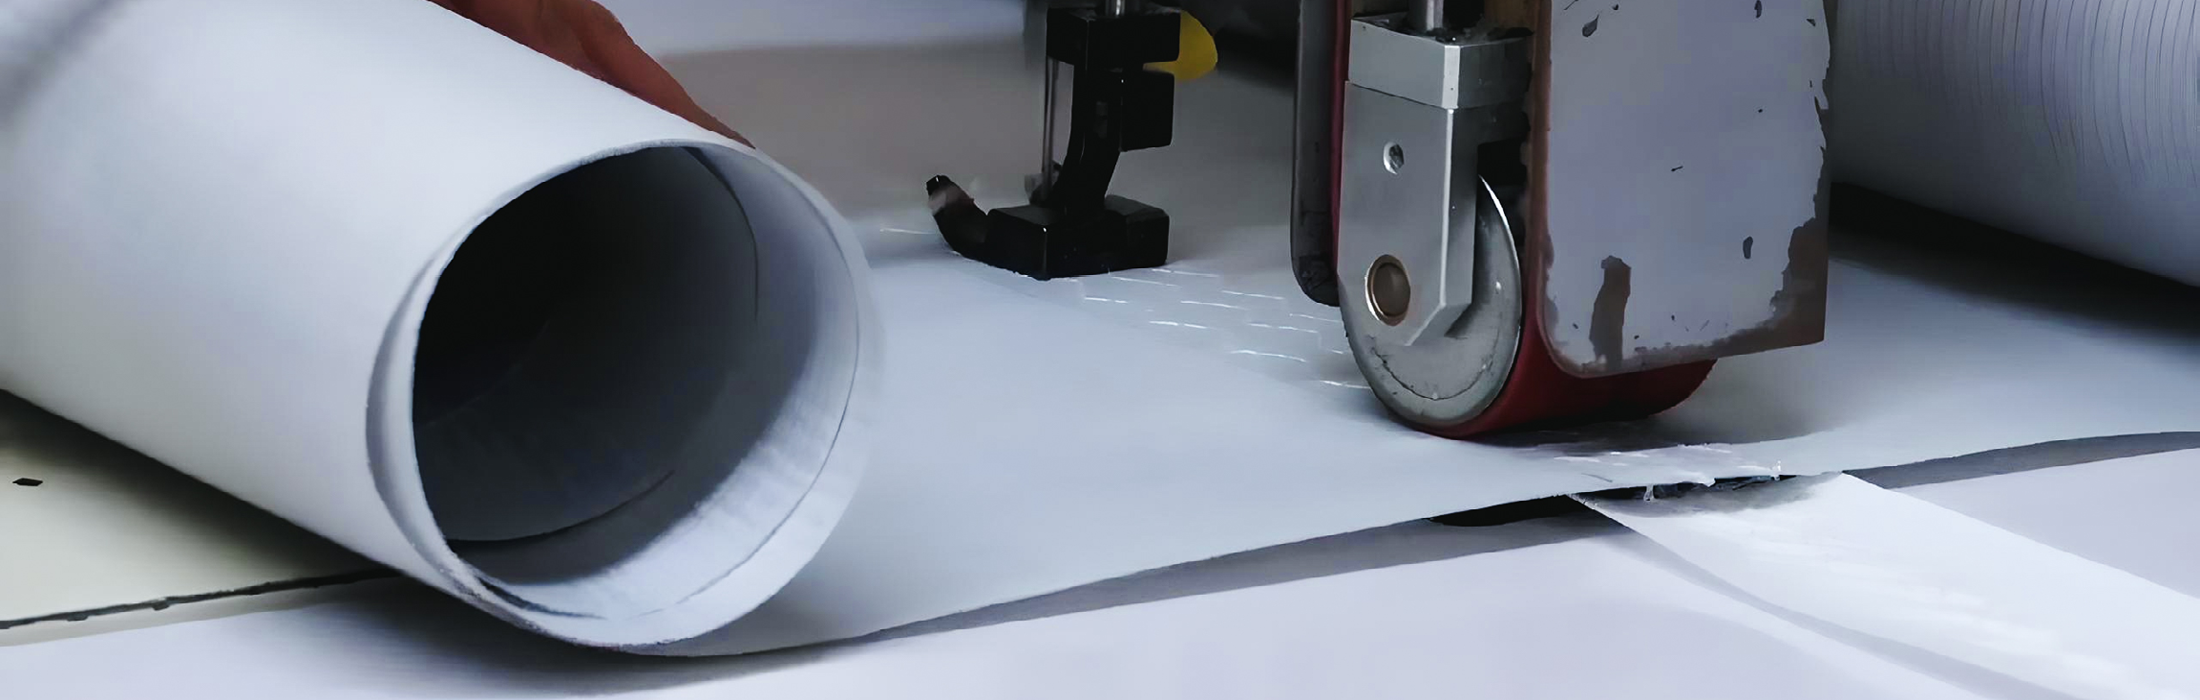
Having the best team of sailmakers is just part of the equation, they also need the best tools. So over the years we have continually invested in our equipment to ensure we have the best kit to build our sails. In our Wareham based loft we have our in house robotic cutting table and numerous technical sewing machines which allow us to sew corner patches, batten pockets u/v strips etc without the sails being creased or folded.
Once cut all our sails are bonded before seaming to ensure the final sail shape matches the design. After seaming we take a manual approach to double check the sail dimensions, eliminating any possible data inputting error that may have occurred during the design process. Every sail is measured thoroughly during the profiling process, at this point the team like to double check the CAD output and compare it with the physical sail sitting in front of them As sailors they aspire for perfection so they use a super long splining batten along the luff, leach and foot to assist them whilst they hand fair and trim the edges to ensure a perfectly smooth edge before the sail moves further into the build process towards the finishing stations.
SAILS MADE BY SAILORS
This may sound like a pun, but most of our team in the sail loft sail themselves, making sure that every sail the team build, or service, is treated as if it’s their own. We are often asked what makes Kemp Sails different, the answer is always the same. It’s all to do with the people, the team here in the loft that do the work on your sail.
Whether you potter around your local harbour, coastal cruise, sail oceans, or race internationally; at least one of our team members will have the depth of experience to offer you the best advice and build sails to best match your requirements.
We are only able to offer this unique advice because we are sailors first, and the passion that we have for our sailing lead us to pursue a career in sailmaking.